3D Scanning
Digitalize or inspect your parts
We offer a highly accurate and reliable solution for creating digital representations of physical objects through 3D scanning, which is the most precise and cost-effective way to digitalize your objects. Our service can be performed at any location with our certified 3D scanner.
This service is suitable for a wide range of industries and is useful for engineering, product design, quality control and sculptures.
Overview:
- What can be scanned?
- Where do we scan?
- How precise is 3D scanning?
- 3D Scan applications?
- What are the output files?
- Cost & lead time?
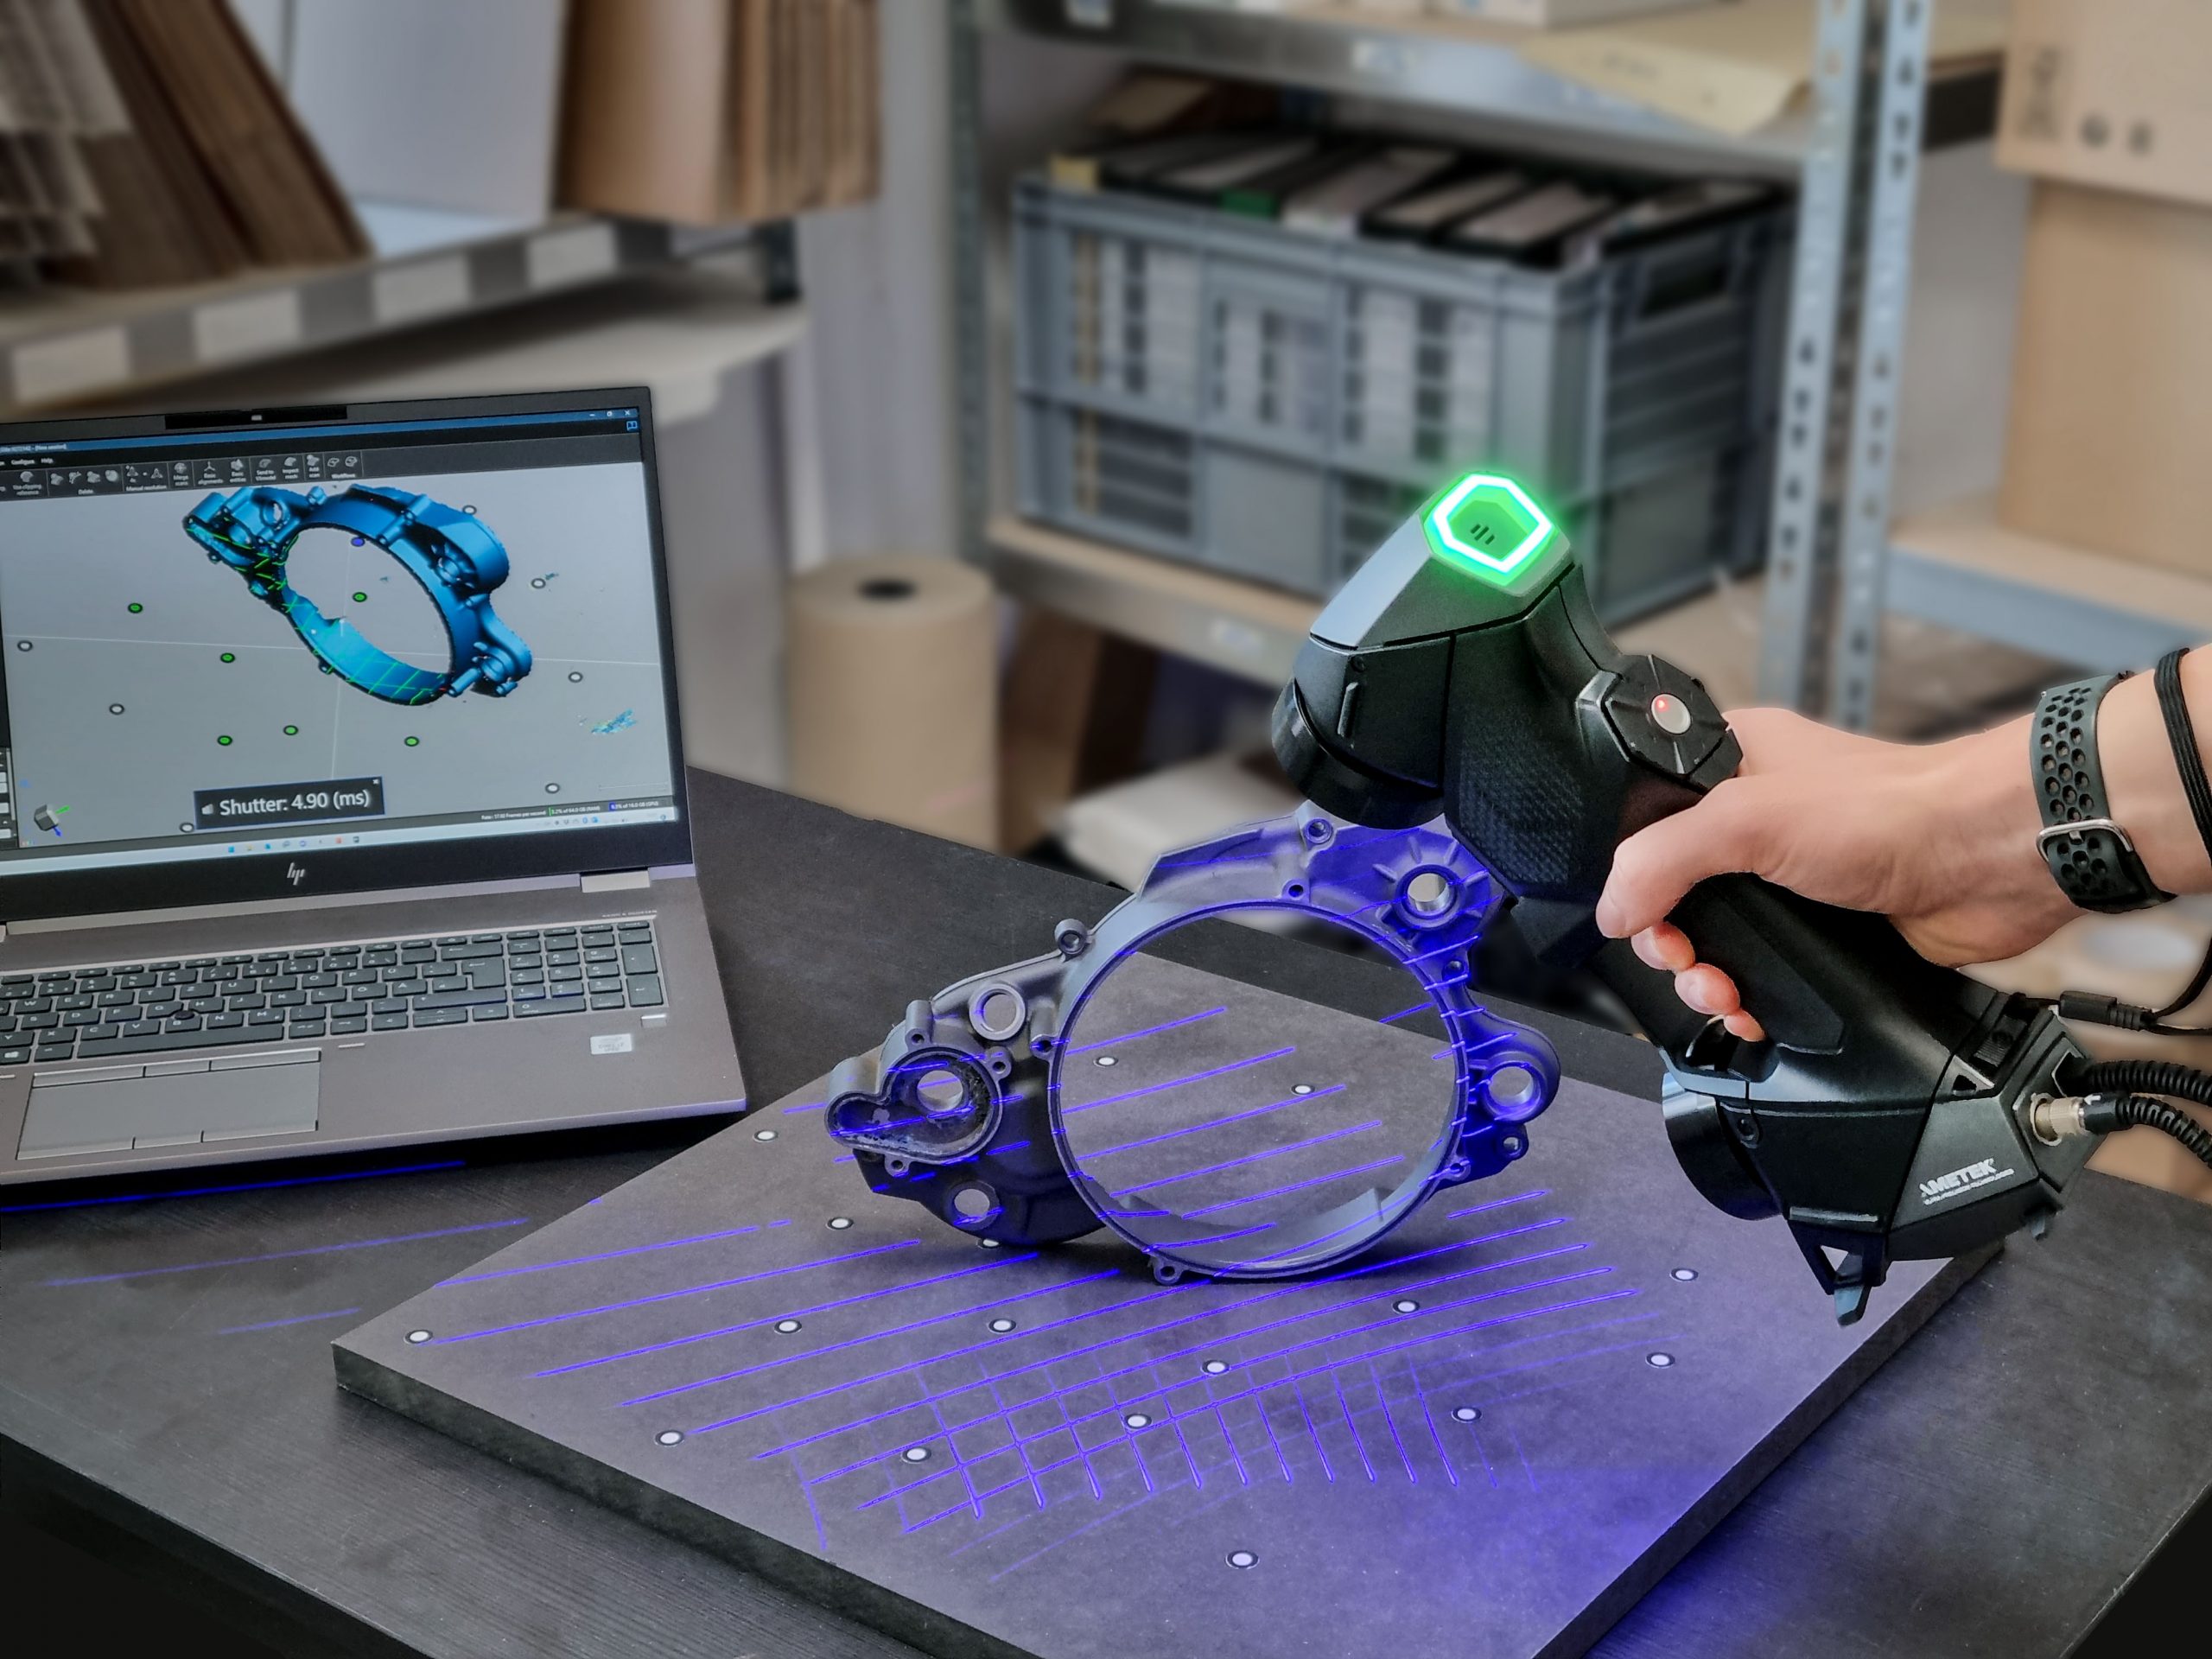
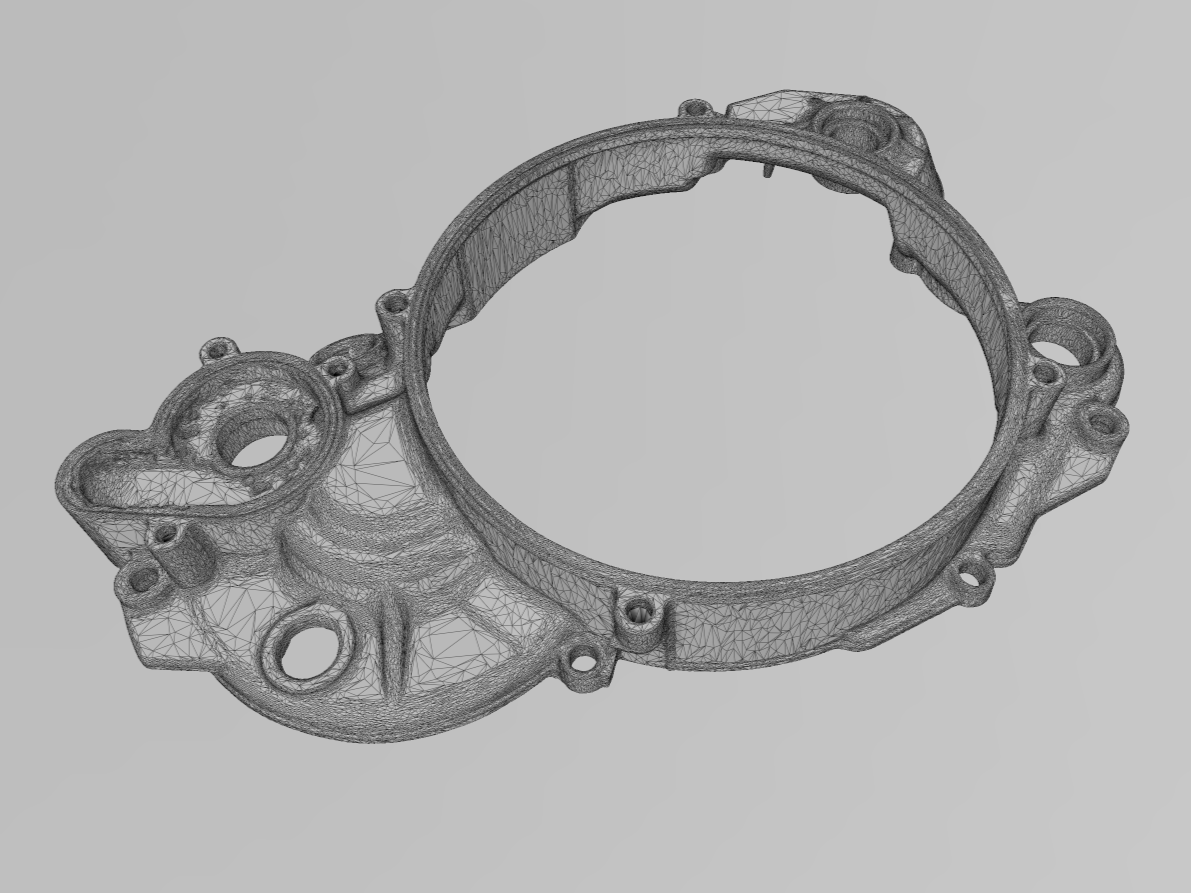
What can be scanned?
Almost any object ranging in size from 5 millimeters up to 5 meters can be 3D scanned.
Some objects may need pre-processing (done by us):
- Objects with highly reflective or transparent surfaces need to be sprayed with vanishing scanning spray (no cleaning necessary)
- Objects that move or are soft must be fixed in place and remain stationary during the entire scanning process.
The scanner also has some limitations:
- The scanner is vision-based, meaning it can only scan what is visible to the naked eye. For example, the outside of a tube can be fully scanned, but the inside can only be scanned up to a certain depth.
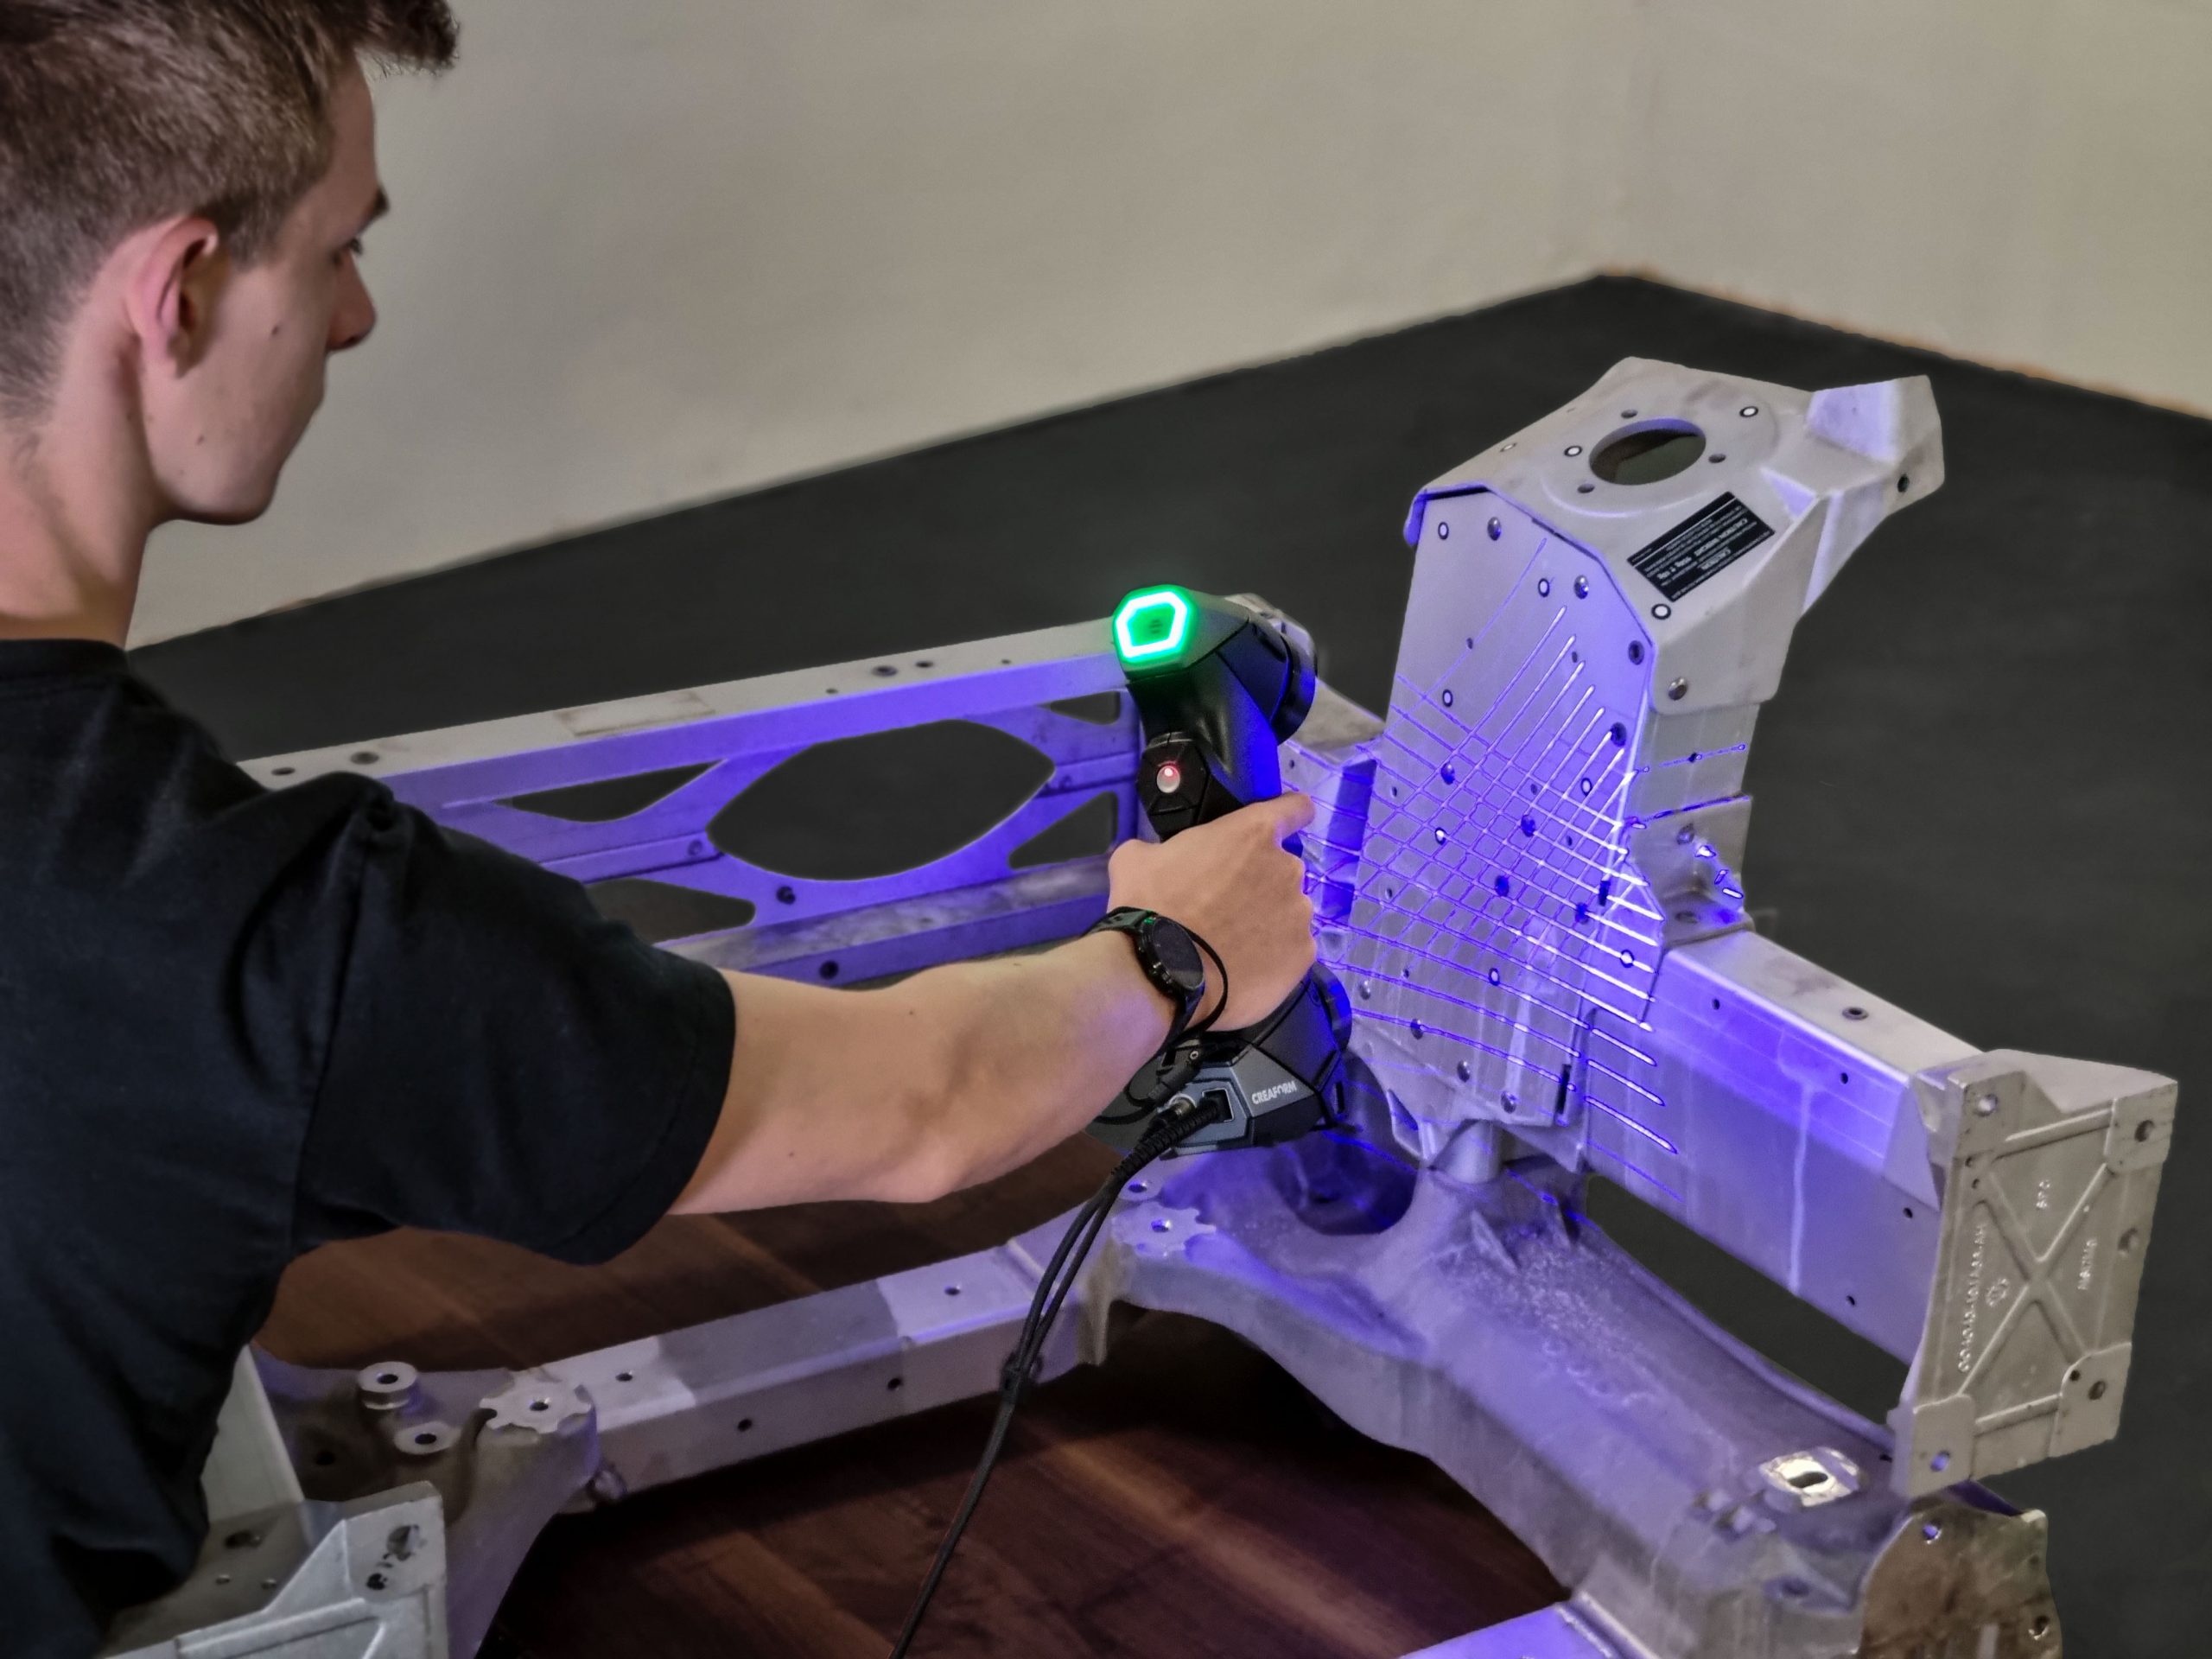
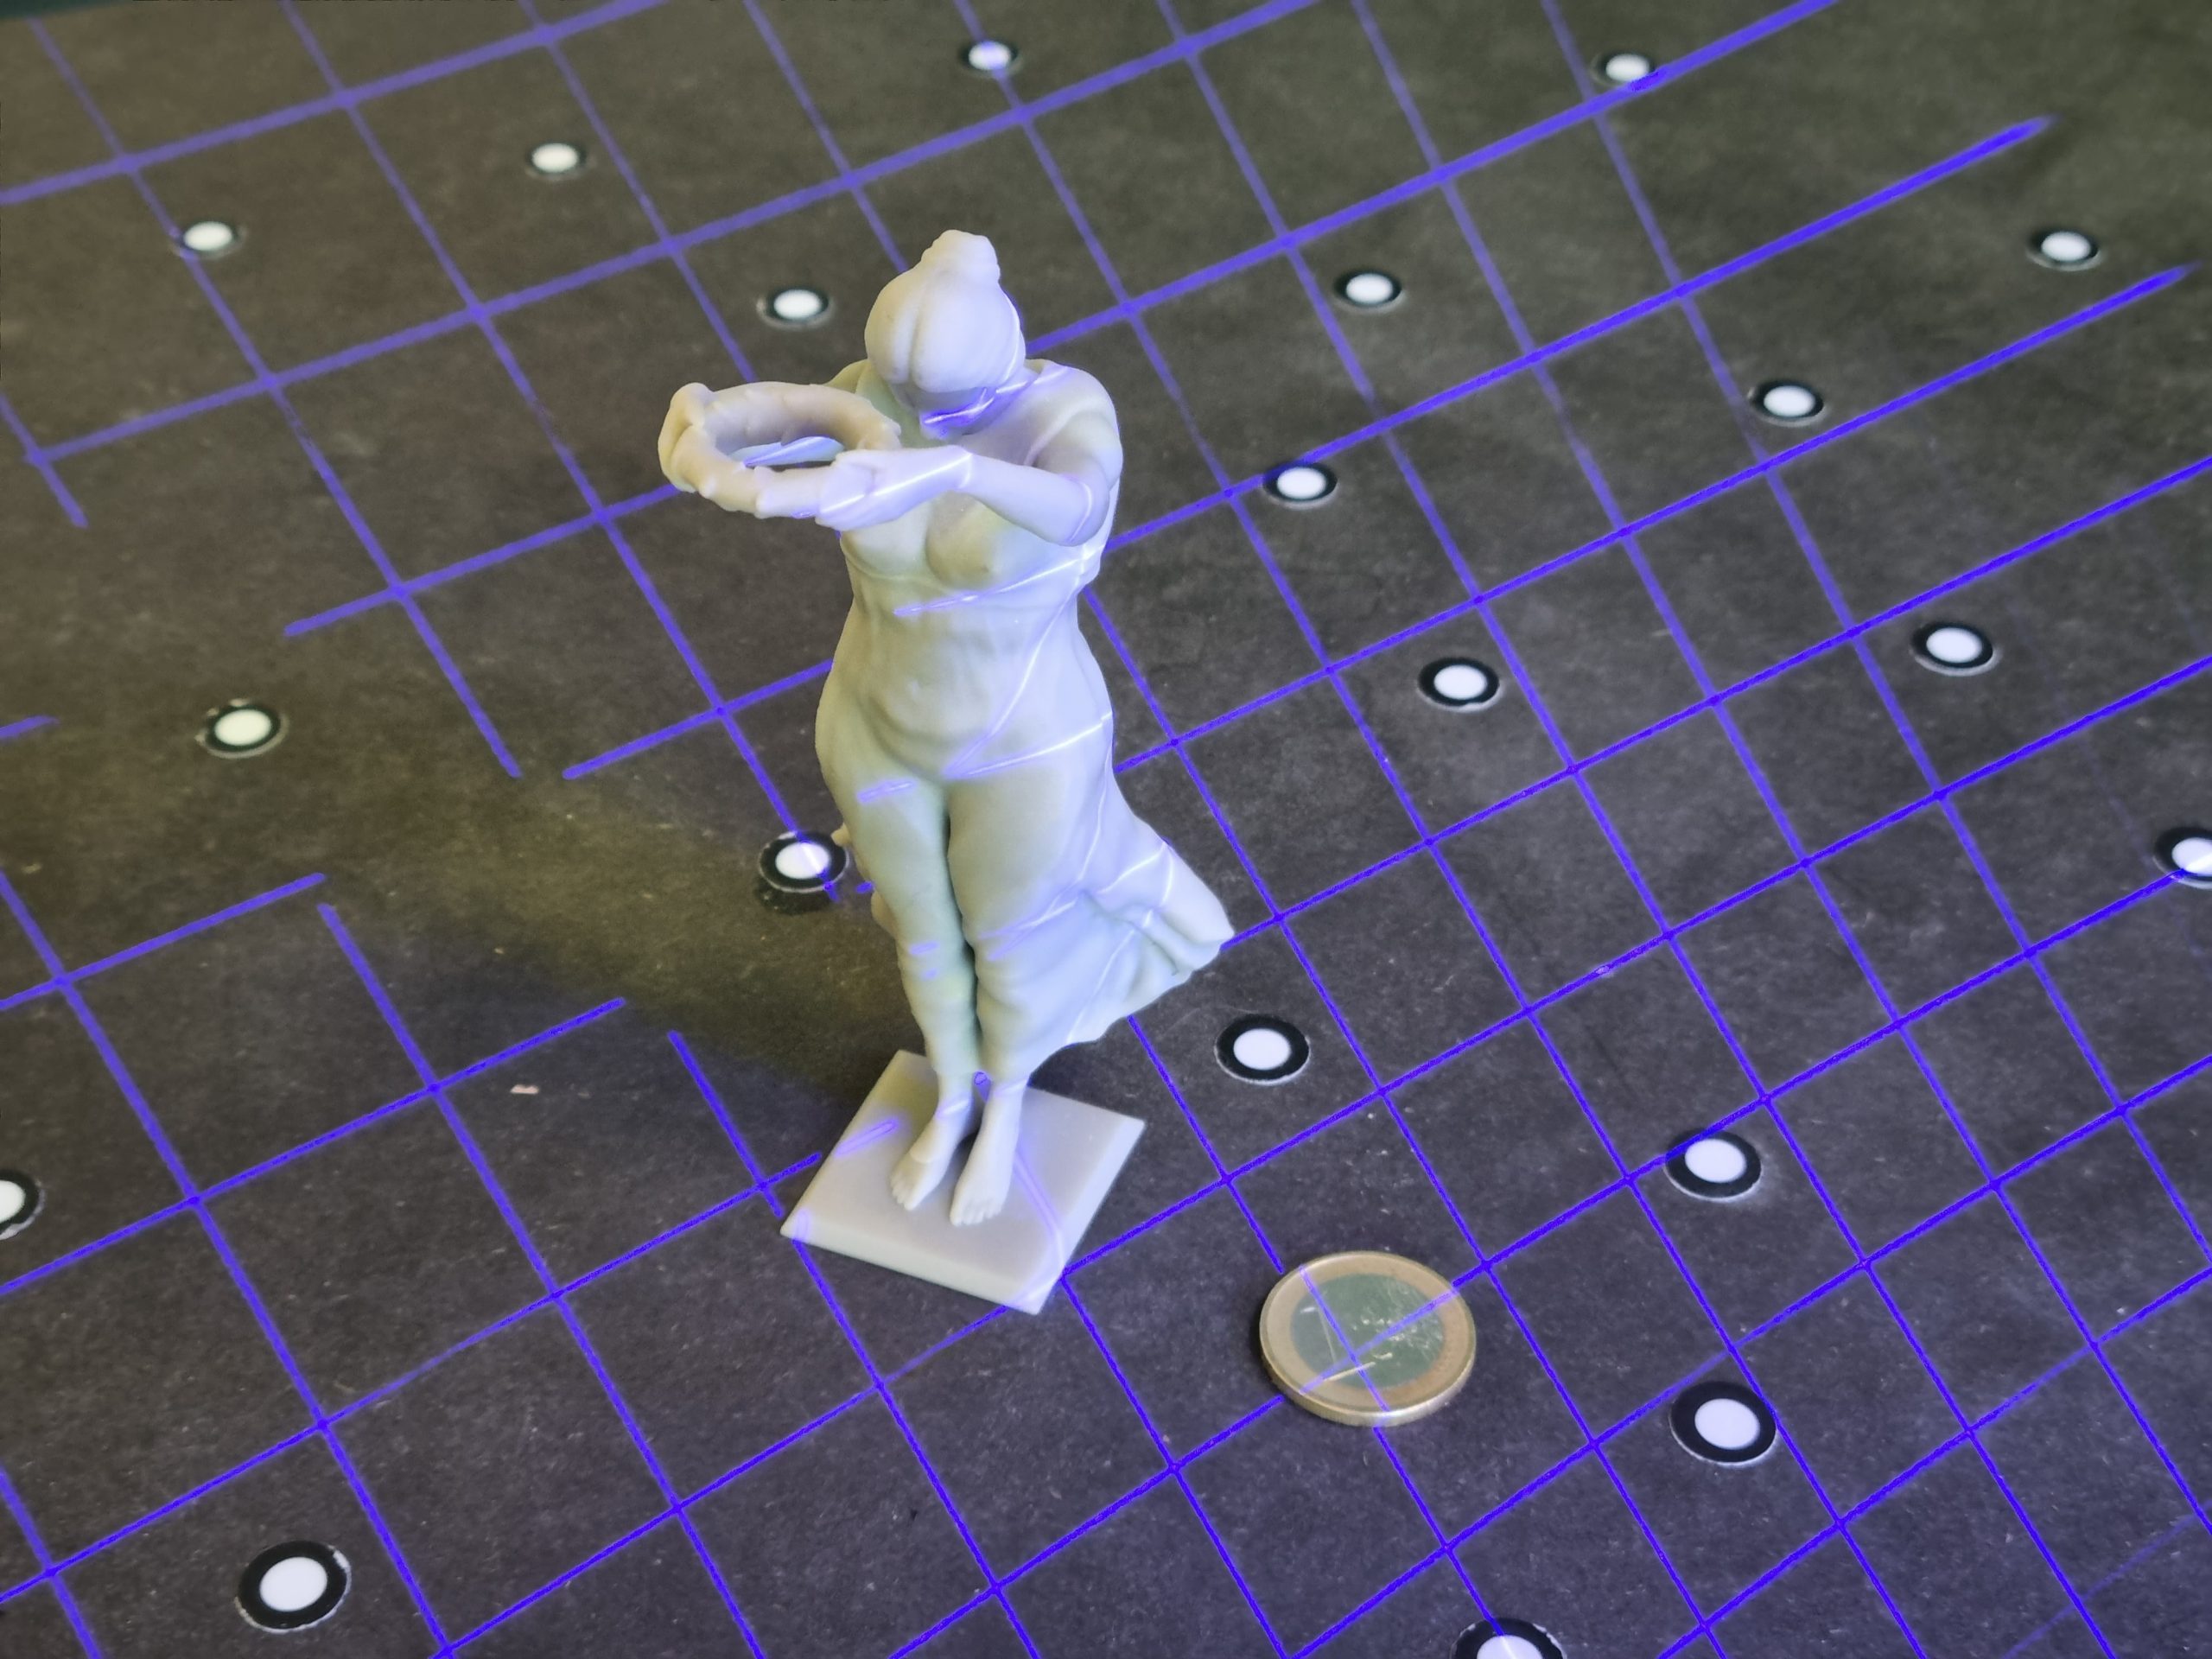
Where do we scan?
Objects that can be transported or shipped easily are usually scanned in our office in Luxembourg city. As our 3D scanner is portable, we also offer on-site scanning. If there is not an electrical outlet nearby, we can bring a portable battery to the scanning location.
How precise is 3D scanning?
Creaform HandySCAN BLACK Elite Technical Specifications:
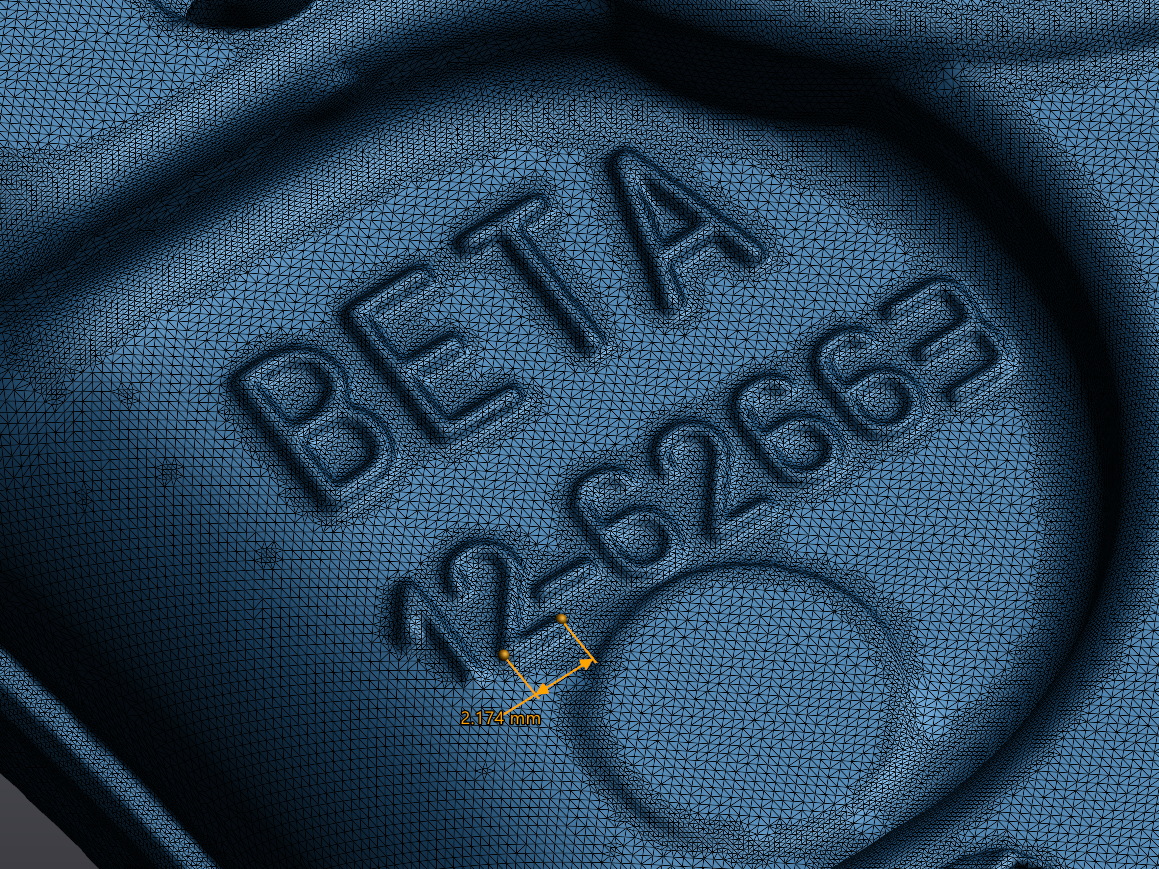
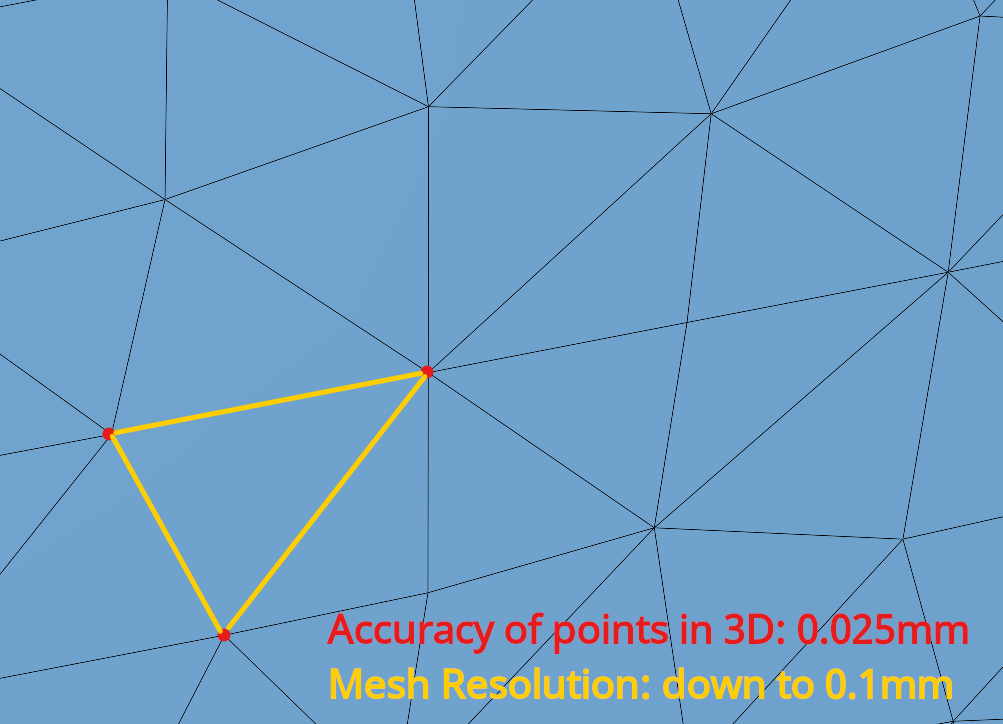
- Point accuracy: 0,025 mm
- Volumetric accuracy: 0,020 mm + 0,040 mm/m
- Mesh resolution: 0,100 mm
- Certified ISO 17025 measuring tool
3D Scan applications?
- Reproductions
- Copies (1:1, mirrored, scaled, repaired)
- Reverse engineering for replacement / restoration parts
- CAD / Engineering
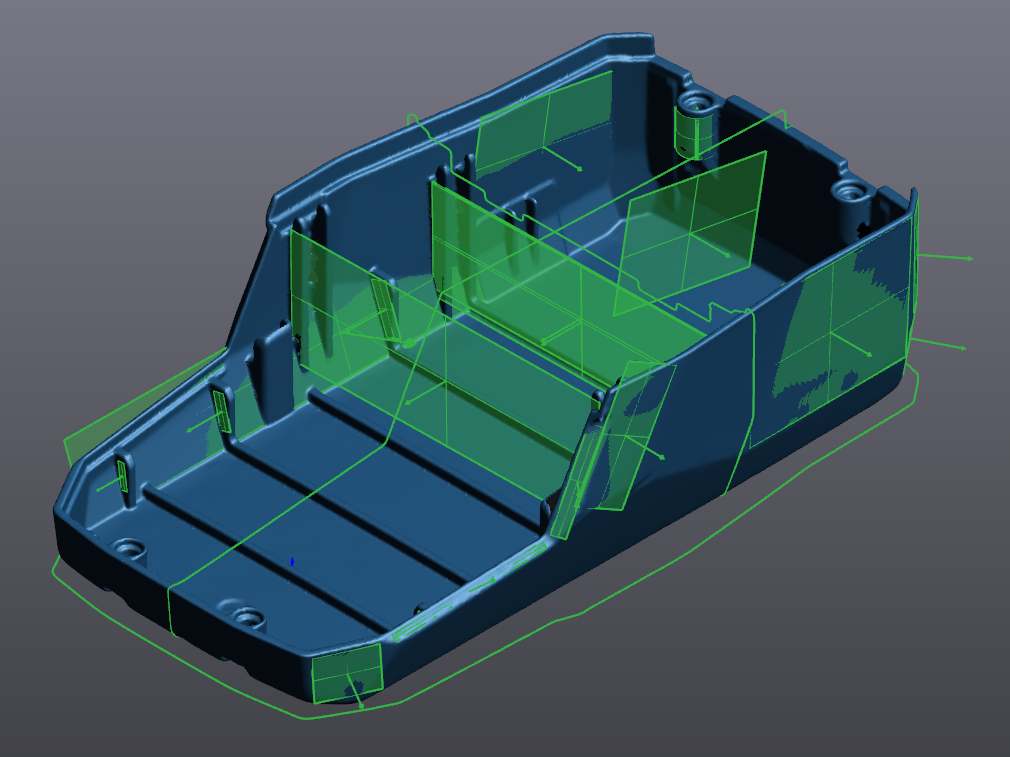
- 3D scan to CAD, reverse engineering
- Planning of complex assemblies disassembly / dismantling (virtual assembly)
- Update of CAD file to reflect as-built tooling measurements
- Measurements of product environment or connecting / surrounding parts
- Packaging design
- Prototyping
- Quality Control / Analysis (ISO 17025 certified)
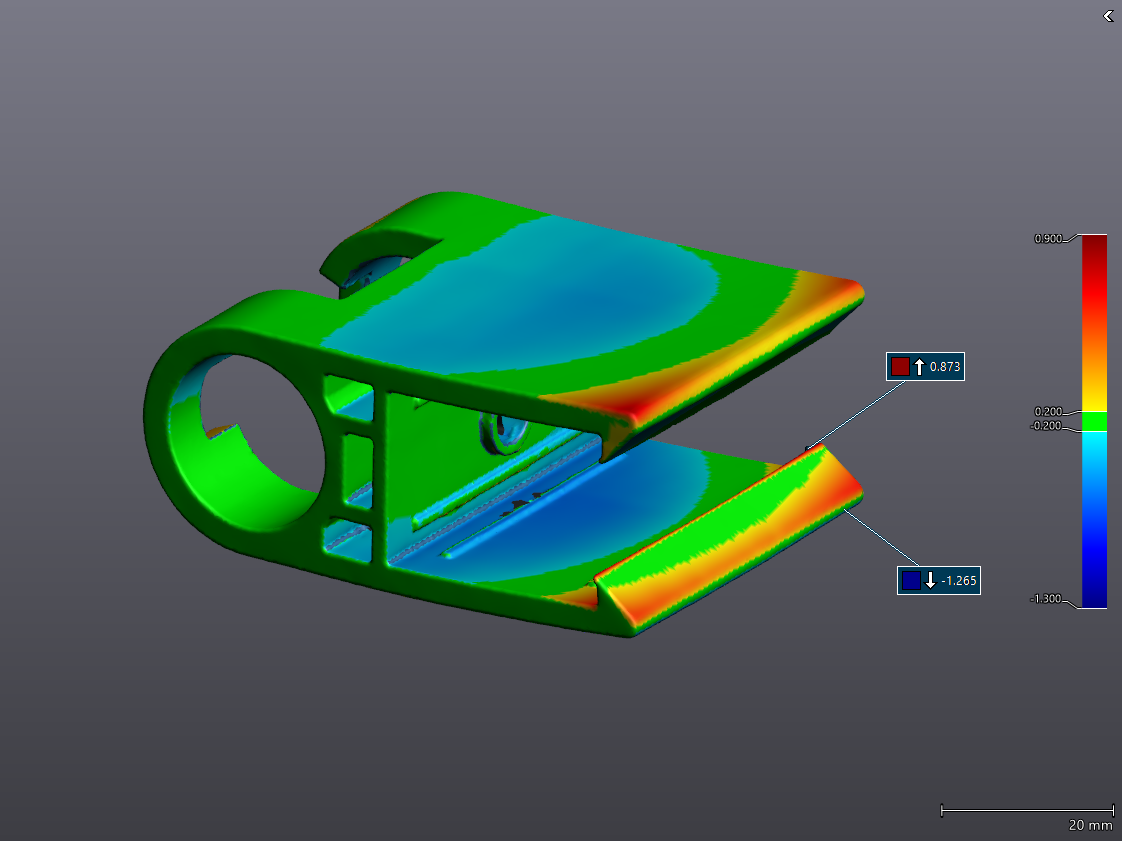
- 3D Scan-to-CAD deviation inspection
- General dimension & tolerance control
- Supplier quality inspection
- Tooling validation
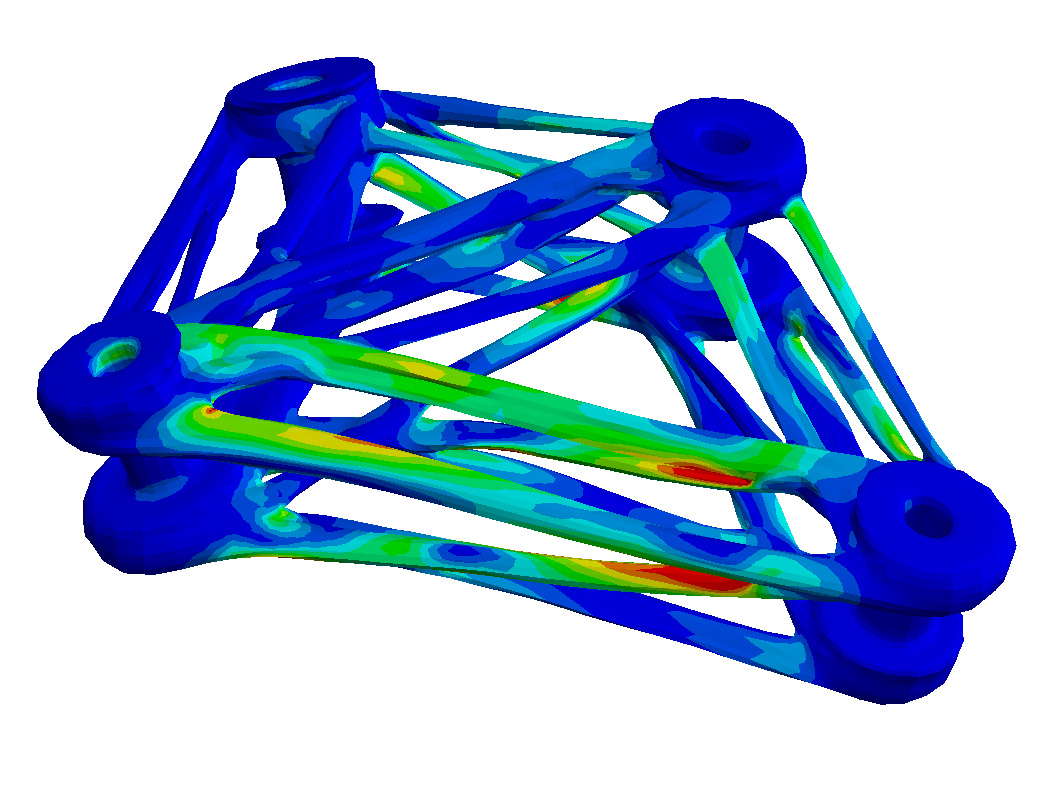
- Finite element analysis (FEA)
- Interference analysis
- Deformation, geometry analysis
- Wear and tear analysis
- As-built documentation of parts / tooling before maintenance
- Part assessment before machining
What are the output files?
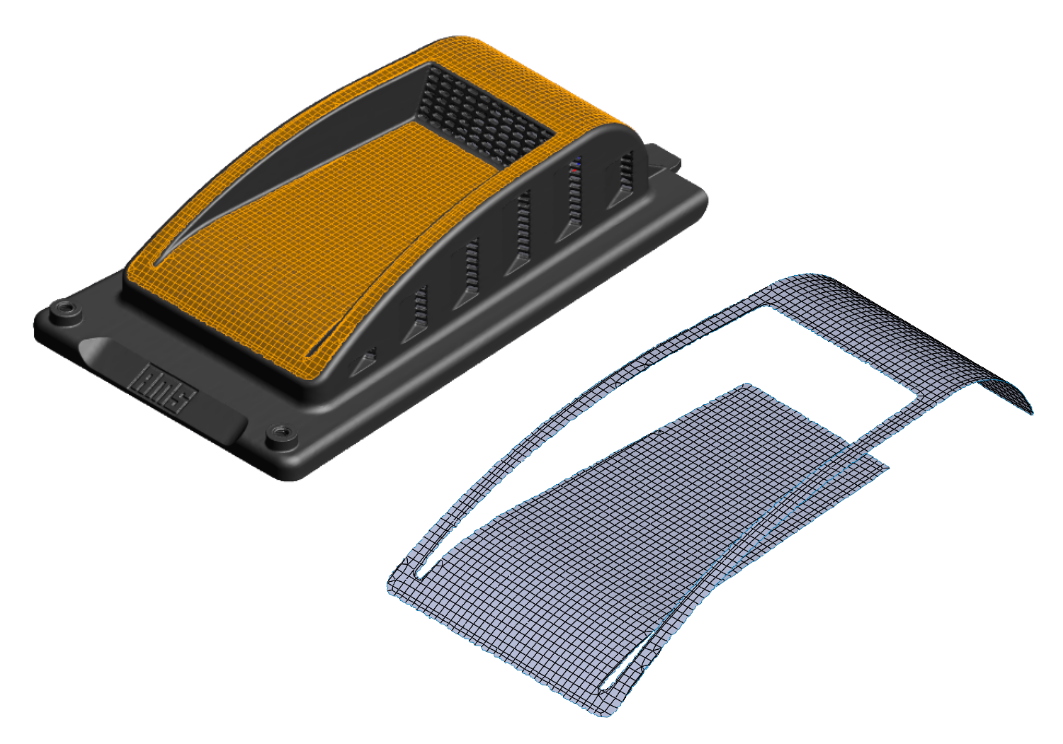
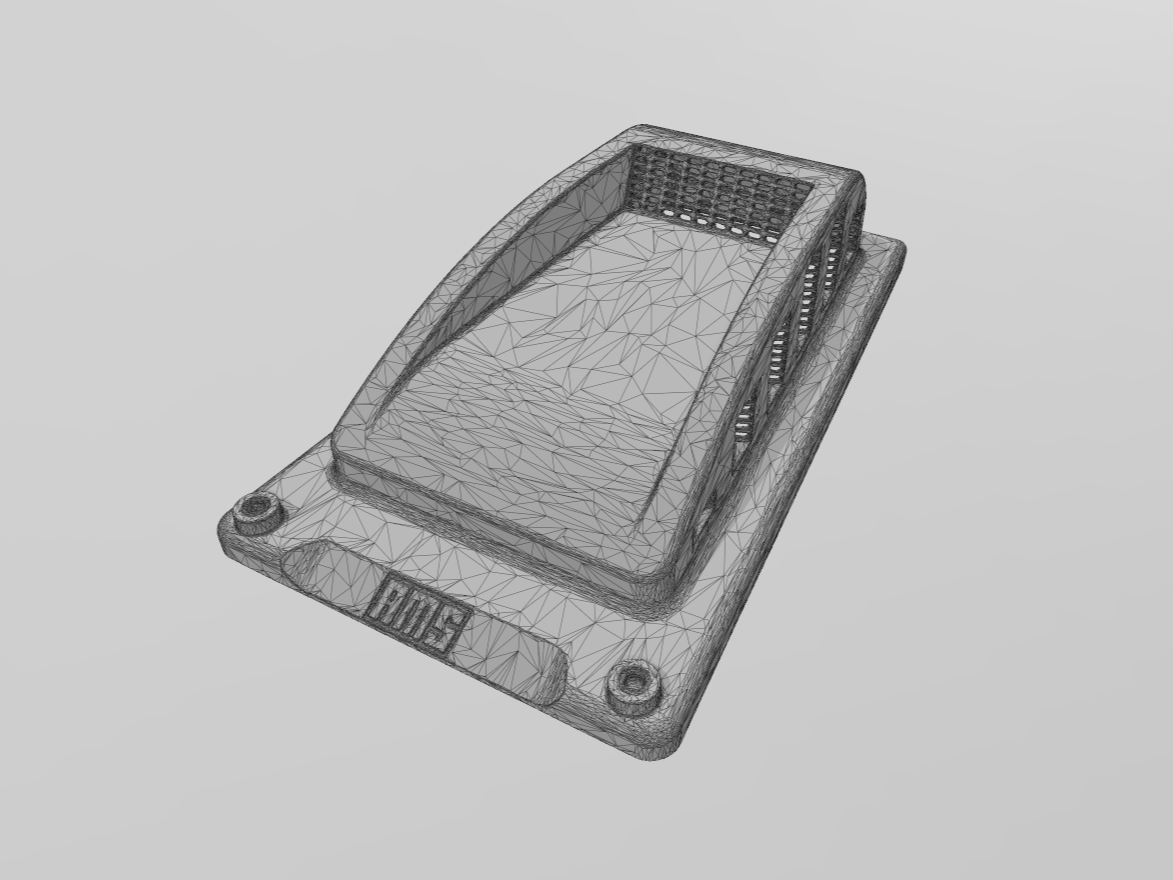
The immediate output of a 3D scan is a mesh file, typically in the .STL format. By manually repairing any holes, we can create a watertight mesh that is suitable for 3D printing.
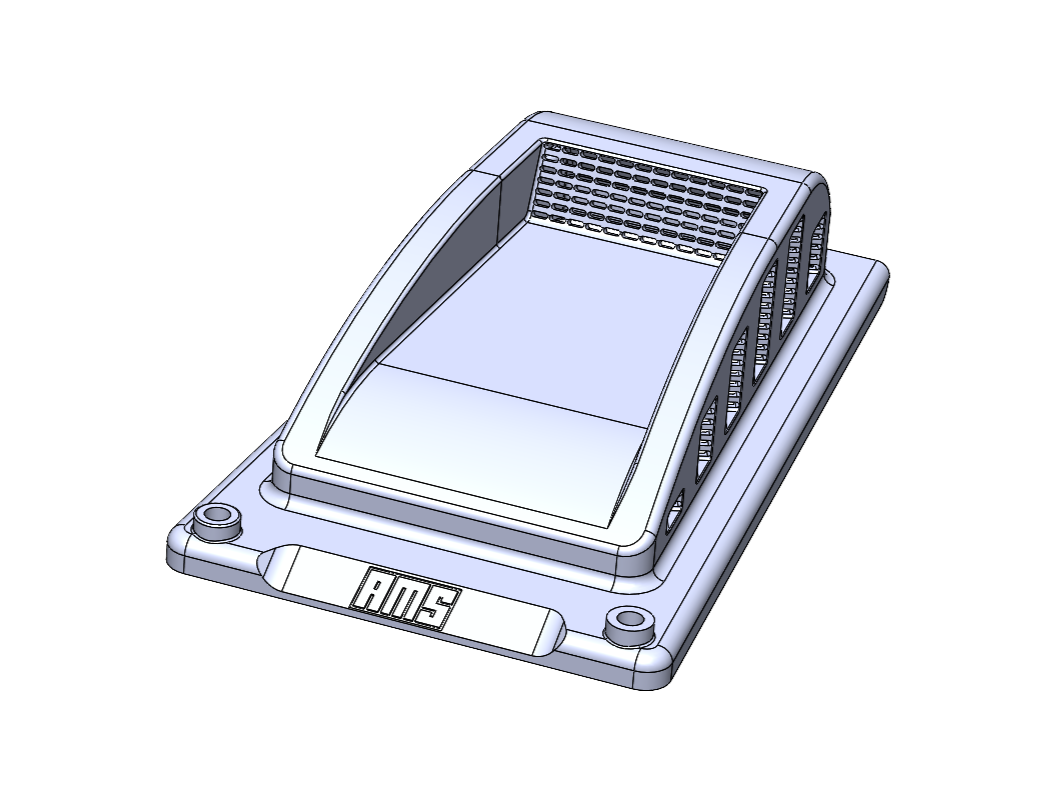
We can also manually create a CAD file, usually in the .STP format, and include custom freeform surfaces or primitive geometry as needed. It is also possible to partially or fully reverse engineer the object.
You can learn more about this on our project post dedicated to output files.
Cost & lead time?
Our service’s cost is calculated by the hour and is influenced significantly by the size and complexity of the object being scanned. To provide a quote for your project, we need pictures and dimensions that you can send us via email or request form.
Typically, 3D scanning projects take 2-3 business days to complete. For urgent projects, we can complete the 3D scan, perform post-processing, and send the 3D files within 24 hours.
